


Managing Server Files via SFTP (example with WinSCP)
Want to manage your server files faster and more efficiently? Then a SFTP client is a great alternative to the built-in file manager. In this guide, we’ll walk you through how to connect to your server using SFTP. We’ll use WinSCP as an example.
SFTP gives you more control: it allows you to upload multiple files at once, navigate faster, and transfer local files directly to your server.
What do you need?
- Your SFTP login details from the game panel
- An SFTP client like WinSCP
- Your account password (or the email to set it)
1. Install WinSCP
If you don’t already have an SFTP program, we recommend WinSCP. It’s free, simple to use, and works great for this tutorial.
Download and install WinSCP on your computer before continuing with the next step.
2. Find your SFTP login details
You’ll need the correct login information to connect to your server. Here’s how to find it:
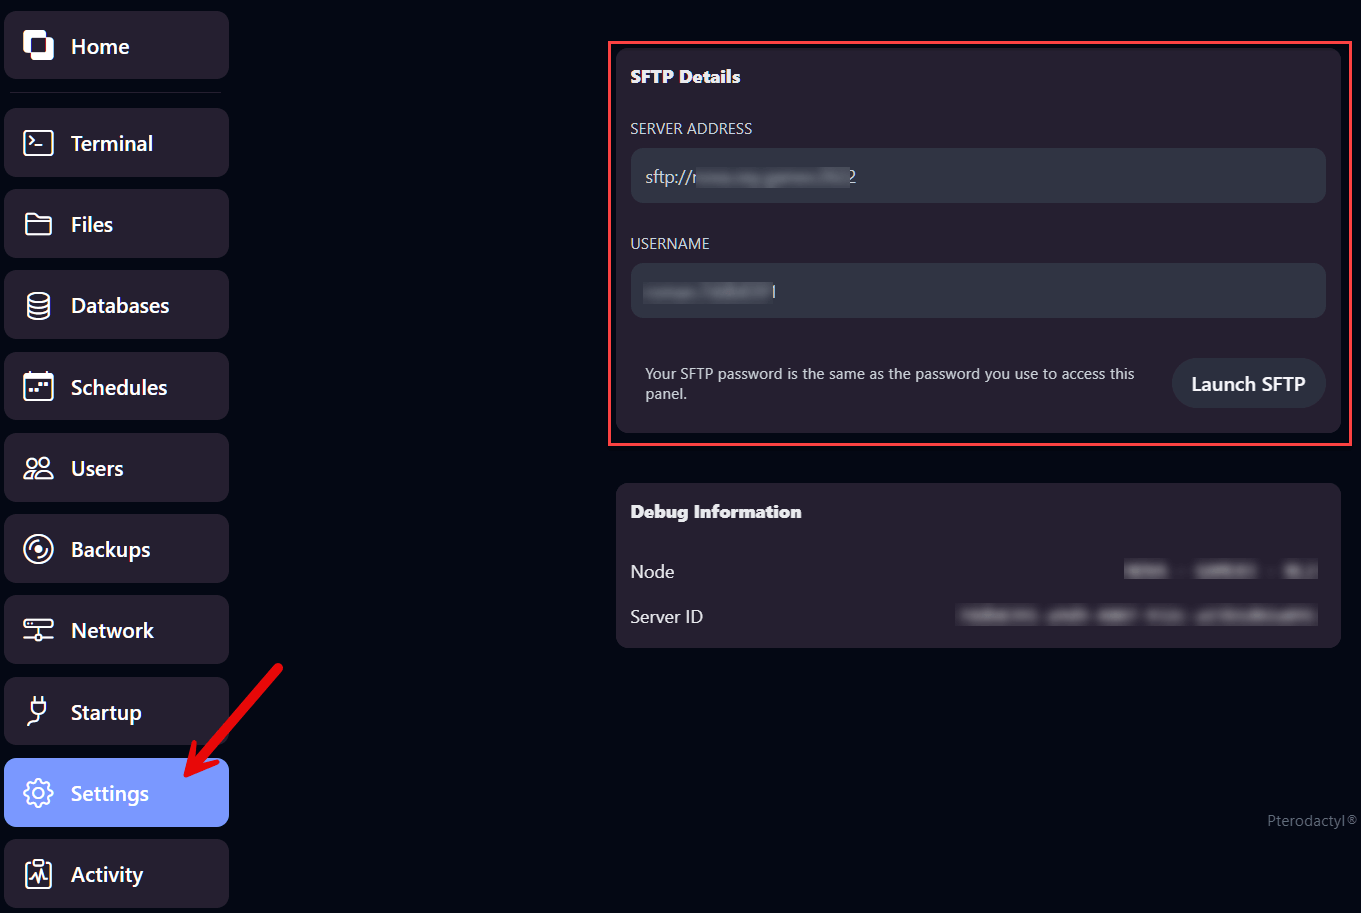
- Log in to your OXY.Games control panel
- Click Settings in the left-hand menu
- Look for the SFTP Details block
You’ll see:
- Server Address (IP address and port)
- Username
You can click these fields to copy them automatically. Make sure you also copy the correct port.
There is also a Launch SFTP button. If an SFTP client is installed, it will open automatically with the right settings filled in.
3. Connect to your server using WinSCP
Step 1: Open WinSCP and click “New Site”
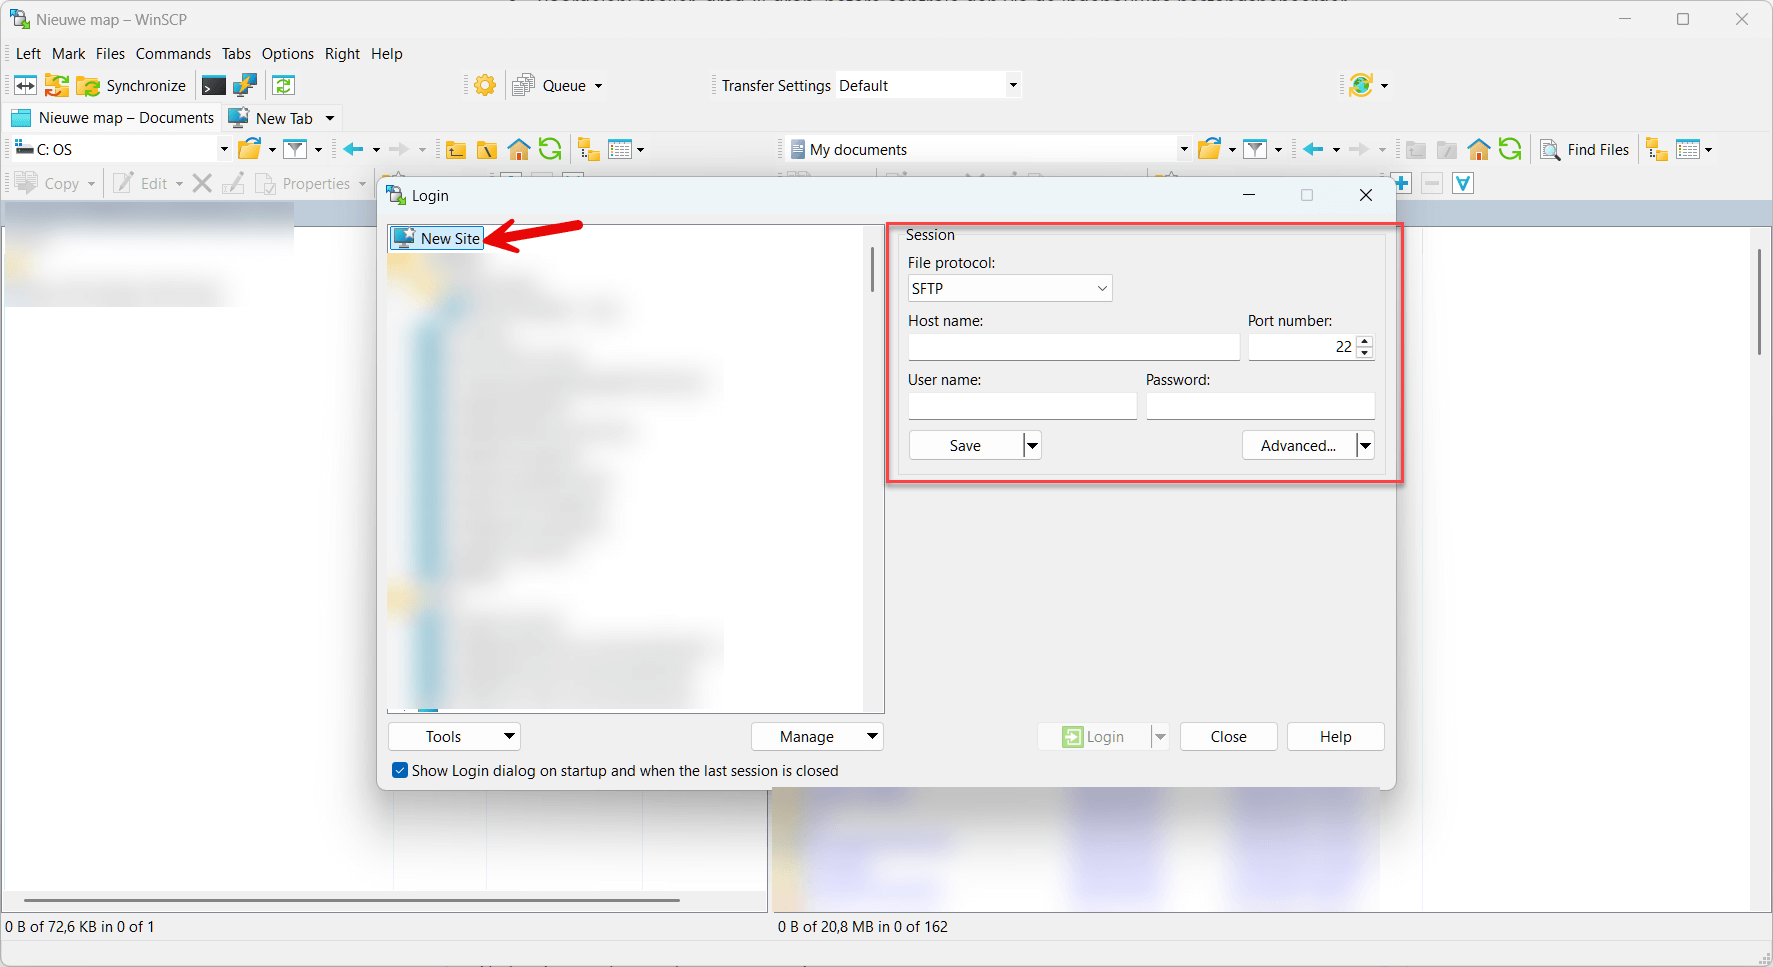
Step 2: Enter your login details
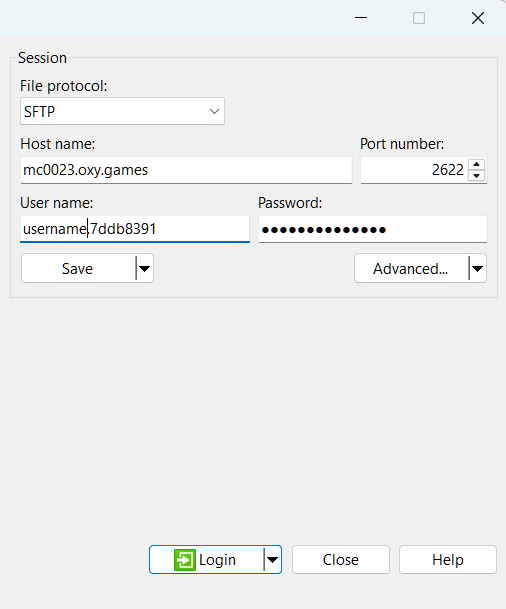
If you copied the Server Address from the panel, click into the Host name field and paste it (Ctrl + V). WinSCP will automatically fill in the IP and port.
Then enter your Username. Your password is the same as the one you use for the panel, or the one you set via email.
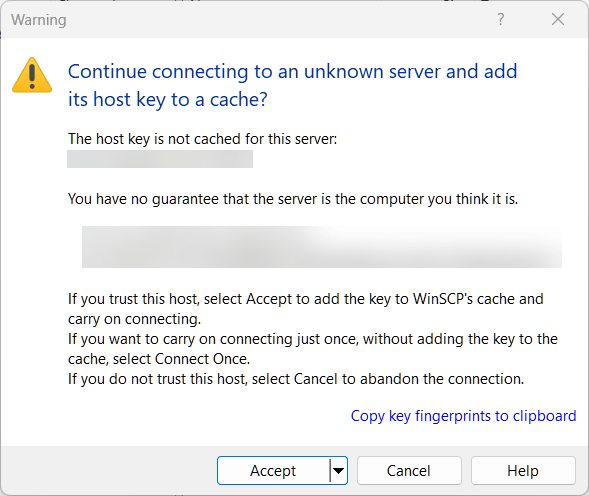
Step 3: Host key warning (first-time connection)
The first time you connect, WinSCP will ask you to confirm the host key. This is a standard security check to ensure you're connecting to the right server.
It's completely safe to accept this. You only need to do it once.
Step 4: Save your session (optional)
If you want to connect faster in the future, click Save to store the session settings. That way you won’t need to re-enter your details every time.

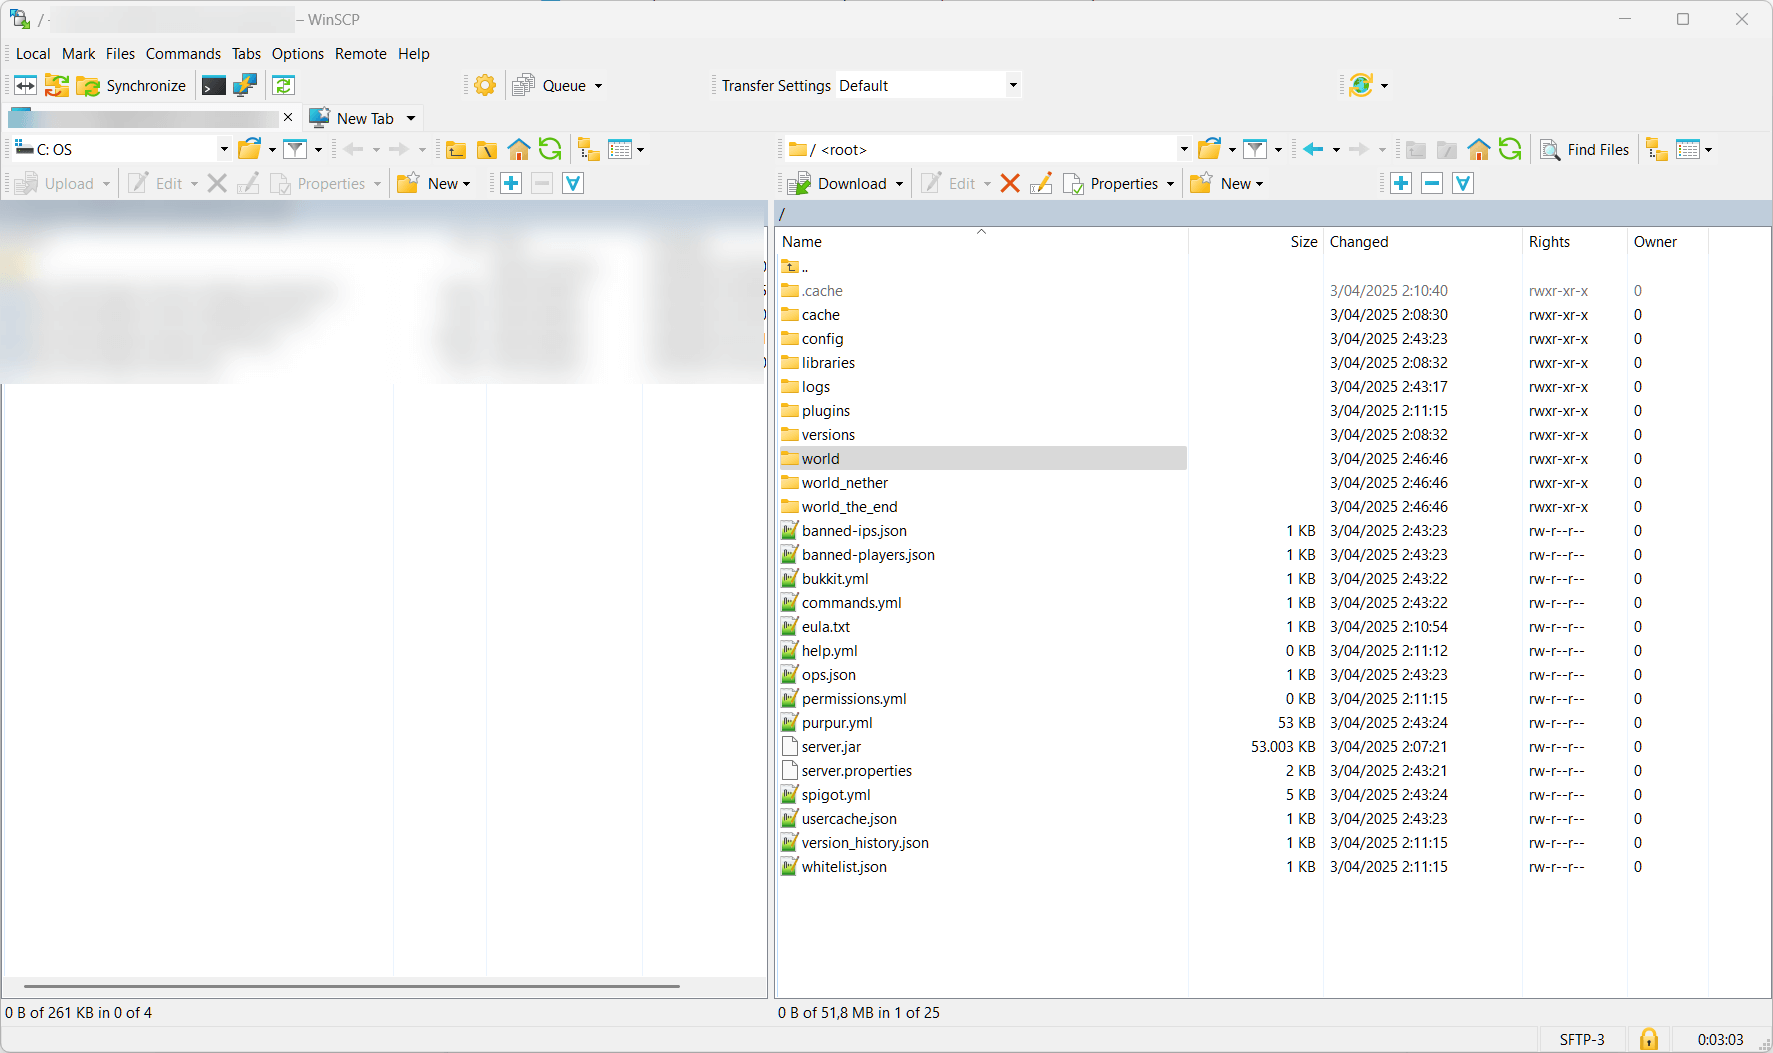
4. Managing your files via WinSCP
After connecting, WinSCP will open a window with two panels:
- The left side shows your own computer
- The right side shows your server files
From here, you can:
- Drag and drop files from your PC to the server (upload)
- Download files from the server to your PC
- Rename, delete or move files
- Browse folders like
/plugins,/world, or/config
What’s next?
Now that you’ve got SFTP access, you can do much more:
- Upload plugins directly to your server
- Install modpacks manually
- Download full backups to your local machine
- Edit configuration files
- Remove unnecessary files
Important: Never share your SFTP login details with others. They grant full access to your server files.
